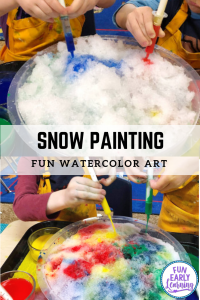
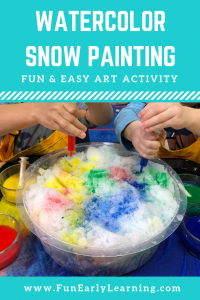
Have you ever heard of Watercolor Snow Painting? I saw a picture of it online and knew I just had to make it! It was so easy and so much fun. If you live in the north, you probably already have what you need…mainly snow.
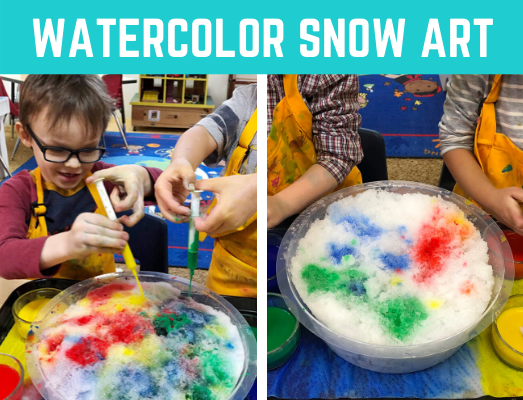
For this activity, we worked on developing our fine motor skills while creating watercolor snow paintings! We mixed and squirted and experimented as we discovered how to blend primary colors to create secondary colors. You have got to try this at home!
This post contains affiliate links.
Here’s what you need for Watercolor Snow Painting
- Plastic Sensory Bin filled with snow
- Syringes
- Tempera Paint in small bowls diluted with water
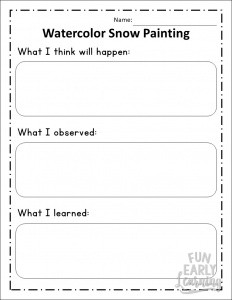
- Recording Sheet
What to Do:
1: Use the recording sheet throughout this activity to record what you think will happen, what actually happened, and what you learned. Ask your children what they think will happen when you add colors to the snow. How far will the colors spread? What will happen when you mix red and blue? What about yellow and blue?
2: Fill the plastic bin or large bowl with snow. Add some tempera paint to small bowls and dilute with water. Adding food coloring to water would work too, especially if you have children who may eat the colorful snow!
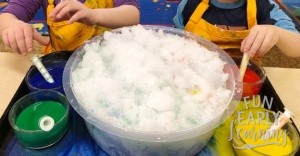
3: Fill up your syringe with the paint and squirt it into the snow. Enjoy!!!
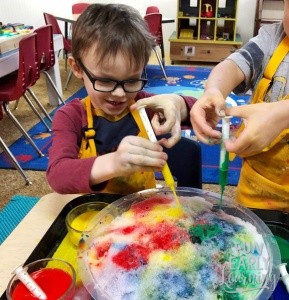

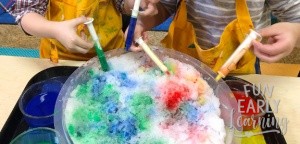
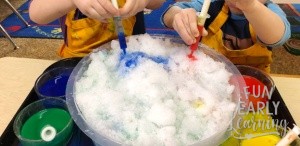
I love when the children couldn’t decide which color to use, so they were using two at once! So hilarious and cute to see. We had so much with this activity! I loved seeing them light up as the colors mixed together to make a different color. It was a great learning experience. We will definitely be doing this again this year! While the snow lasts, let’s make the most of it! 🙂
